Admin Guide: Documentation Management & Custom Table/Media Editing
Exhaustive administrator manual for managing help docs in /admin/docs, inserting customizable tables, editing table sizes, adding rows and columns, sizing images and videos, publishing, and syncing default seeds.
Updated Sep 14, 20263 min readAdmin & Platform Management
Admin Guide: Documentation Management & Custom Table/Media Editing
This administrator guide explains how to manage Help Center categories and pages in Admin Docs Portal, use the TipTap rich text editor, insert customizable tables, adjust table sizes, add or delete rows and columns, insert and size images and videos, sync default seed docs, and configure platform settings.
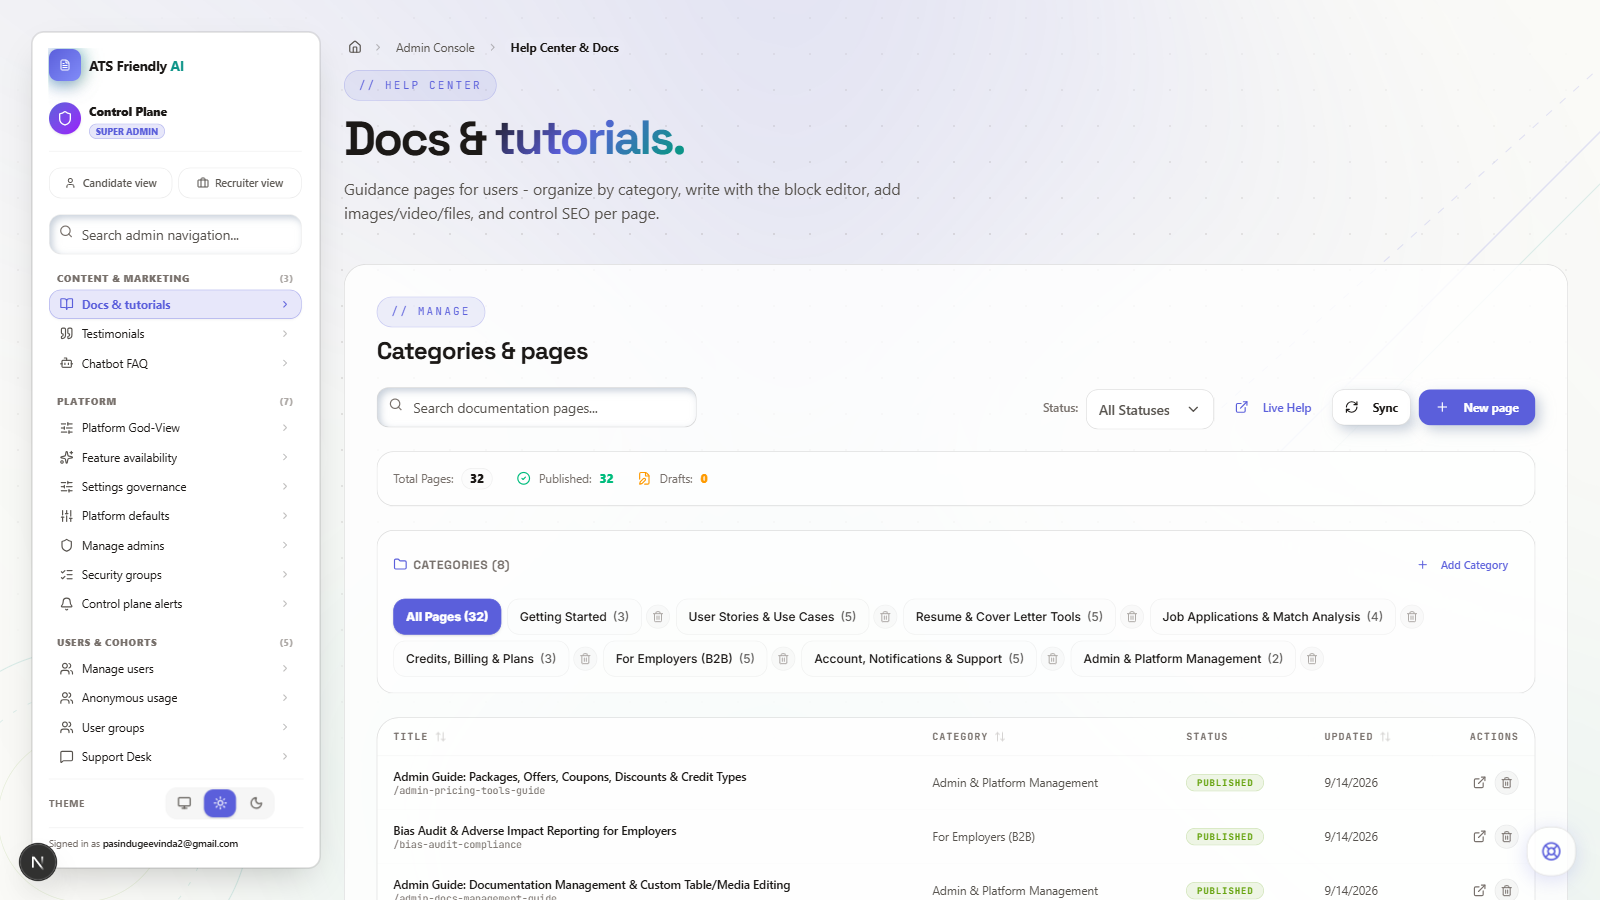
Everything below - categories, pages, tables, media, callouts - is managed through the same TipTap-based editor at /admin/docs.
1. Managing Documentation Categories & Pages
Access the admin documentation portal at /admin/docs (requires Admin permissions):
Create New Category: Use "+ New Category" form at top to add help categories with custom slugs and descriptions.
Create New Page: Click "+ New Page" to open document editor. Fill in Title, Slug, Category, Excerpt, and SEO Keywords.
Edit Existing Page: Click any page row in pages table to edit content in TipTap editor.
Publish / Draft Toggle: Toggle page status between Draft and Published. Only published pages are visible on public Help Center site.
Delete Page / Category: Click trash icon to remove page or category after confirming.
2. Inserting & Customizing Tables in the Editor
Admins can insert and fully customize tables using the Table menu in the TipTap toolbar:
Insert Table: Click the "Table" button in the toolbar and select an initial grid size (such as 2x2, 3x3, or 4x4).
Add or Delete Rows: Click inside any table cell, open the Table menu, and click "Add Row Above", "Add Row Below", or "Delete Row".
Add or Delete Columns: Click inside any table cell, open the Table menu, and click "Add Column Left", "Add Column Right", or "Delete Column".
Toggle Header Row: Click "Toggle Header Row" to convert the top row between standard cells and styled header cells.
Custom Table Sizing: Click Table Size in the menu to set overall width: Full 100%, Compact 75%, or Small 50%. Column widths can also be dragged directly in the editor.
Table Alignment: Select Table Alignment to align the table Left, Center, or Right on the canvas.
Delete Table: Click "Delete Table" to remove the table entirely.
3. Inserting & Customizing Images, Videos, and Callouts
The toolbar provides controls for inserting and styling visual media:
Image Uploads & Custom Width: Click the Image icon to upload a file from your computer or insert a URL. Click the Image Options dropdown to set display width (100%, 75%, 50%, 25%) and alignment (Left, Center, Right).
Video Embeds: Click the Video icon and paste any YouTube, Vimeo, Loom, or direct MP4 URL to embed a video player.
Callout Boxes: Click Info (cyan), Warning (amber), or Tip (lime) buttons to insert visual highlight callout boxes.
File Attachments: Click the Paperclip icon to upload downloadable PDF assets or document templates.
4. Syncing Default Documentation Seeds
The platform includes a built-in default documentation seed system (`lib/seed-docs`):
Sync Default Docs Button: Clicking "Sync Default Docs" in Admin Docs upserts missing categories and populates any *new* default pages, without overwriting existing pages.
Every page currently seeded from lib/seed-docs (all of the "Getting Started", "Resume & Cover Letter Tools", user-story, and similar guide pages) is force-overwritten back to its seed-file content automatically on every server cold start - not just when someone clicks "Sync Default Docs". If you edit one of these specific pages directly in the admin editor, your edit will be silently reverted on the next deploy. To make a lasting change to one of these pages, edit its source file under lib/seed-docs/ in the codebase instead of editing it live in the admin UI. Pages you create yourself (not part of the seed set) are not affected by this.
5. Managing Packages, Entitlements & Coupons
Administrators can also manage commercial platform settings across related admin panels:
Packages & Pricing: Configure subscription passes, credit pack amounts, and Polar package identifiers at Admin Packages.
Feature Entitlements: Assign feature flags, such as Word DOCX download access or premium AI models, to specific packages at Admin Entitlements.
Promotions & Coupons: Create and manage discount codes at Admin Coupons.